gWorkspace Tutorial
Welcome to gWorkspace: the revolutionary cloud environment for building modelling and simulation projects.
gWorkspace is the foundation of your project and greenspaceLive experience; building a portfolio in gWorkspace allows you to upload all project images, files and models, link in both gEnergyEPC and Energy+ run history, gModeller cloud model storage and retrieval as well as featuring a file and version store for all files. Stored gWorkspace files are accessible through all greenspaceLive tools, as well as through the greenspaceLive website.
gWorkspace projects can also be shared with both registered greenspaceLive users, as well as your email, Facebook and LinkedIn contacts! Sharing couldn’t be easier!
Table of Contents
gWorkspace Basics |
gWorkspace Advanced Features |
The Basics
Accessing gWorkspace
Thanks for choosing to use greenspaceLives gWorkspace.
To access the web interface of gWorkspace, simply visit www.greenspacelive.com, register/log in and then navigate to “Workspace” on the toolbar. This will start your gWorkspace.

Creating a Project
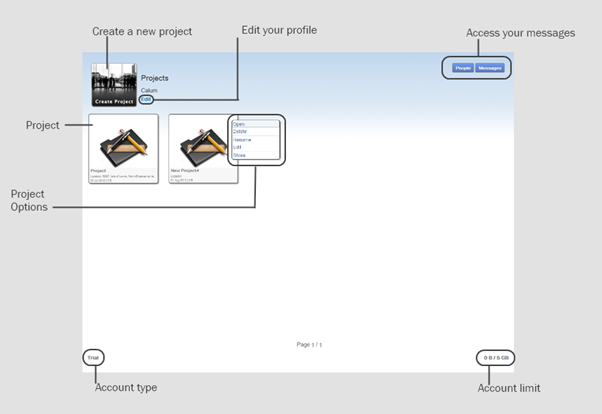
To create a new project within your gWorkspace, click the "Create Project" button at the top left of the interface. Once you have clicked this, you will be presented with a project creation panel, where you can enter your project information.

You will now be presented with the Create New Project wizard as shown below.
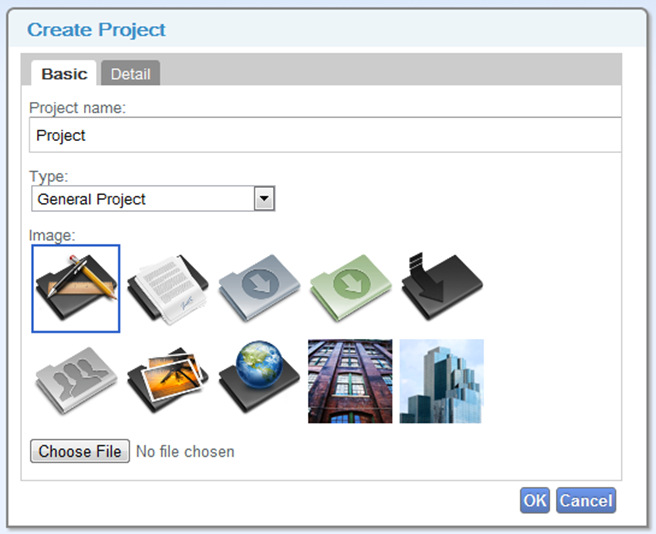
In the basic project screen, you can name your project, as well as select the building type (if applicable) and a related project image. To upload your own image, select "Choose File" and select it from your own computer.
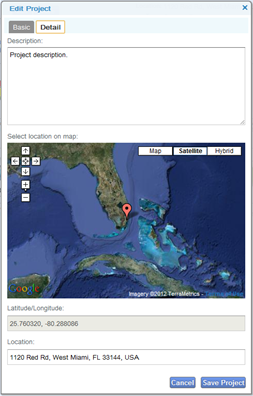
In the Detail panel, you can enter some descriptive text about the project and select the projects location. To select an area on the map, double click the part of the map where the building exists.
Press "OK" to create your new project.
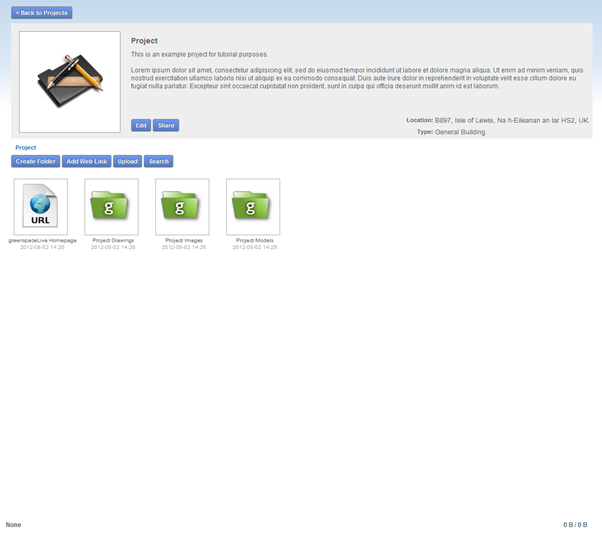
Your Project Interface
Opening a Project
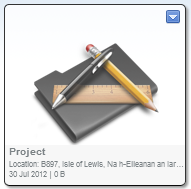
Click anywhere on a project square to open your project. The interface window will change to show your project files.
Drop Down Menu Options
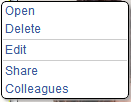
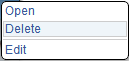
To access the drop down options for your project operations, click the arrow located in the top right corner of the project panel. From here you can Open, Delete, Rename, Edit and Share your project. Sharing will be discussed further in this tutorial.
Account Type and Limits
At the bottom left of your screen your account type will be displayed. Your account storage limitations are displayed in the bottom right of the screen. To upgrade your required storage, visit the greenspaceLive website or contact the team at info@greenspacelive.com
Edit Name
Edit your display name.
Project Detail View
Creating sub-folders
Create a new folder to store particular files, such as images or models to organise your gWorkspace.
Adding Files
To Upload files into your gWorkspace, ‘drag and drop’ files from your computer to your browser window or click upload, select the file you wish to upload from the new window, and then press “Upload”. Your new files will appear in your gWorkspace once they have completed uploading.
Adding External Web links and Embedded Video
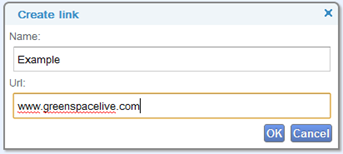
This allows you to embed a link to an external website within your gWorkspace, such as a link to a page or model or other page of interest. Simply enter the name you would like the webpage to have and enter the URL of the website within the URL field.
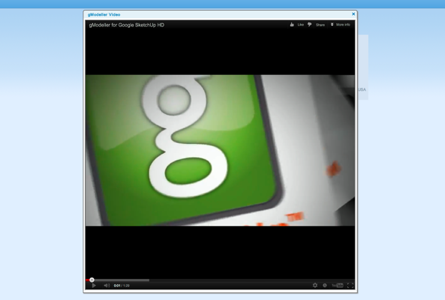
You can also add a YouTube video to your projects. Simply add a web link and paste your YouTube URL. You will then be able to watch the video as a pop-up window within gWorkspace.
Navigating Folders
To navigate back to a parent folder, use the breadcrumbs at the top of the file view to backtrack to the parent folder(s).
Rename a Project
To rename a project, use the Drop Down menu on the Main Project panel. Select and click Rename and you will be presented with a popup window asking for your projects new name. Enter the new name and press OK. This will now be reflected on the main project panel.
Edit a Project
If, for any reason, you wish to change the information you entered for your project on creation, you can Edit the project information. This is done on the main project panel, from the dropdown menu or from within the Project details panel.
Once you’ve pressed Edit, you will be taken to the same screen you are presented with when you create a new project. Change/Delete the information you are wanting to edit, then press Ok to save or Cancel to abort.
Delete a Project
If you decide to delete a project from your portfolio, you can do so from the main project window. Select Delete from the dropdown and your project, including all files and subfolders, will be permanently deleted.
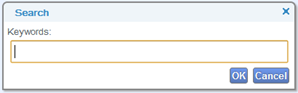
Search
Search your gWorkspace project for a particular file. Enter the keyword you are searching for and then click Search to look for it. Results will be displayed in your gWorkspace window.
Advanced Features
What is Collaboration?
Collaboration allows you to share projects with other greenspaceLive.com users. This can greatly boost productivity as greenspaceLive offers you a base to store all your project information while you and your colleagues can all work on the project and add and view files and folders in real time. For example, collaborating with an architect could mean that he uploads models into gWorkspace, you can view them and then message him about changes, which he can then apply and the changes are reflected within gWorkspace once he has uploaded the file. Your project collaborators can view, add, modify and delete files within your project.
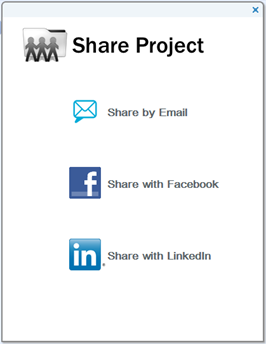
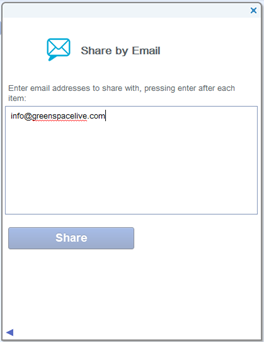
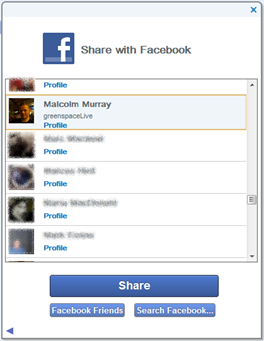
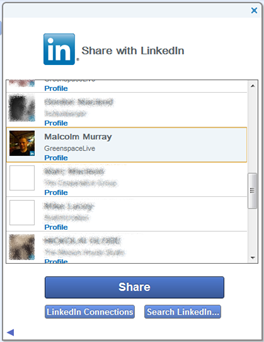
How to Share
Select Share from the project drop down and then share your project by Email, Facebook or LinkedIn. Click the option of choice and then select your friend from the list you wish to share with.
Your colleague will then be prompted with a popup window next time they use gWorkspace and an email, asking if they would like to collaborate with you on this project.
View Colleagues
In the dropdown on the main project screen, click Colleagues to view colleagues who are part of your project.
A popup window will appear detailing the users collaborating on this project.
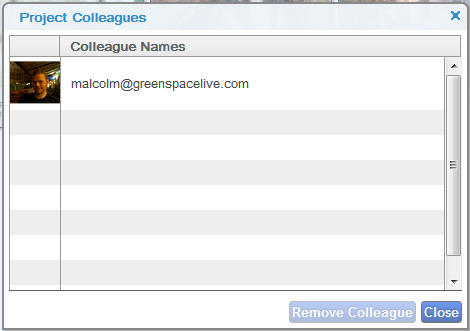
Remove Colleagues
To remove a colleague from your project, view the colleagues of your project and select them by clicking them. Then click "Remove Colleague" in the bottom right of the screen. They will be removed from the project. You can invite them back at any time.
Remove yourself from a colleagues project
If you are in a shared project and not the owner and wish to leave, you will have the following options. Simply Delete the project from your list. The files will not be deleted and will still be available for other colleagues who are a part of the project.
Messenger
Another feature that is part of gWorkspace is the Messenger. This allows you to message other people in your projects that they will receive in Real-Time or, if they are offline, the next time they log in.
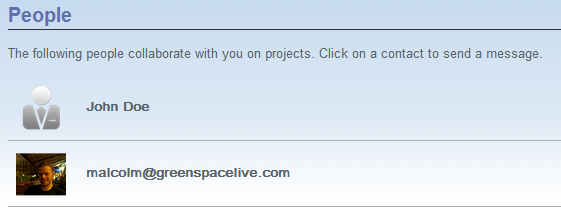
To send a message, click People within a project. Select the user you wish to message and double click them. A pop up will appear, type your message and click Send Message at the bottom of the screen. The user should receive notification of your message soon.
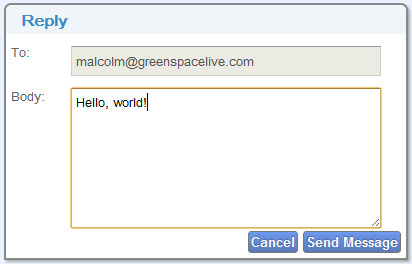
To check your own messages, click Messages and then click a message to read it. The message contents will appear in the bottom panel of the window.
You can Reply to the message by pressing Reply, or Delete the message by pressing Delete.
Search
To use the Search function of gWorkspace, chose Search from the Project details panel. Enter your search term and press search. Your gWorkspace will then search for your term and display them in the window. Please be aware that search terms are case sensitive.
File Versioning
By activating versioning on your files, backups are automatically made so of your files as you work. This means you lose your file, make a mistake on the file or document, or want to revert to a previous iteration of your texts, you can instantly retrieve a previous version of your file.
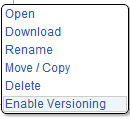
Activate Versioning
To activate versioning on your file/s click the drop down menu and select "Enable Versioning". This will now activate versioning for your selected files.
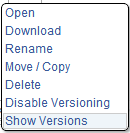
Retriving a versioned file
When you wish to recover a version of a file, click the dropdown menu on the file and select "Set As Current Version"
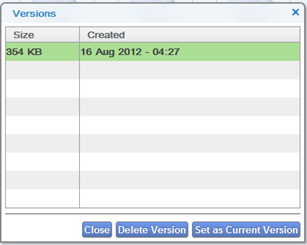
Select the date you wish to revert to, and the file shall switch to the state the file was in at the selected date.
If you wish to delete a version, select the version and click “Delete”.
EnergyPlus Reporting
gWorkspace now features reporting modules for EnergyPlus. This feature is currently in Beta testing, so there will be additional features added to it.
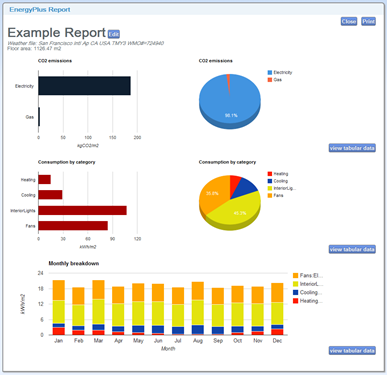
Currently the EnergyPlus reporting module reports 3 areas of your buildings performance in graphical form; CO2 emissions, Consumption by category and monthly breakdown.

These are displayed as bar and pie charts, for a quick overview of your buildings performance. These are also viewable to your collaborators, allowing you to view and share high level information on your building projects.
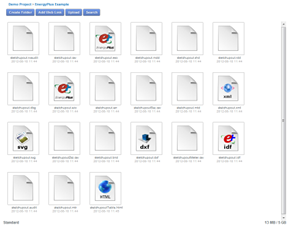
To produce an EnergyPlus report, simply create a new folder within your Project and add your EnergyPlus run files into the folder.
Once your files have been added, click the context menu of your project and select View EnergyPlus Report [Beta] to view your report.
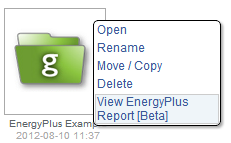
A pop up will then appear with your report information.
Looking for more?
Please don’t hesitate to contact us if you require any more information or help regarding gWorkspace or any of our other products.