Quick Start Guide: gEnergy
Hello and welcome to the gEnergy Quick Start guide. This guide assumes you already have existing EnergyPlus knowledge and is designed to get you familiar with the basics of gEnergy to allow you to start simulating your own buildings and projects as soon as possible.
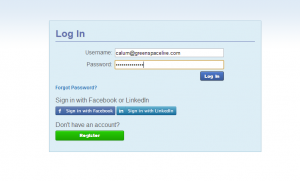
Visit gEnergy and log in using your greenspaceLive account details
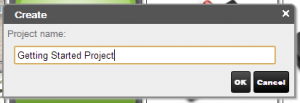
Create a new project – call this “Quick Start” or “Getting Started”
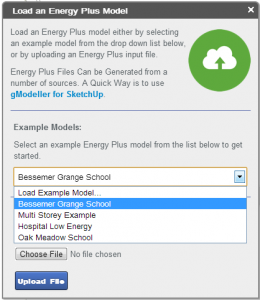
Click “Import IDF” from the options at the top of the gEnergy screen. Select ‘Bessemer Grange School’ from the dropdown menu. You can also choose your own IDF files to upload to gEnergy from here. Don’t worry about file versions, gEnergy will automatically make your IDF compatible with the latest version of EnergyPlus that is required. Once you’ve chosen your file, click Upload File.
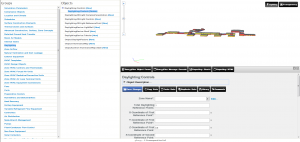
At this point, you can make any changes you wish to make to the model, if desired. To do this, click a ‘Group’ on the left, this will open the group’s objects in the Object window. To edit an Object’s properties, simply left click the object in the Object list and edit it in the EnergyPlus Object Form located at the bottom right.
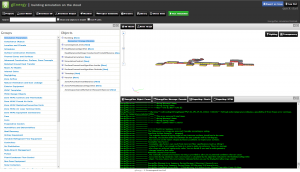
However, for this quick demonstration, you want to just click “Run Simulation”. The message console will appear and start running the gEnergy simulation. You can view your simulations progress in this window.
When this is completed, click on Reporting: Charts.
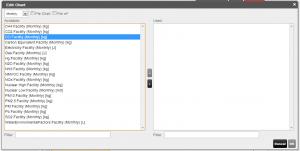
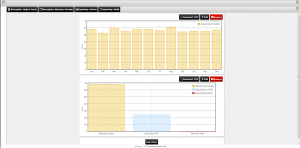
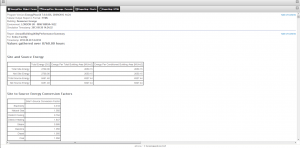
Here are some default charts displayed. You can add your own charts from the results by pressing “Add Chart” and then selecting your parameters from the list and moving them to the right. You can export any of your charts as a CSV file for Microsoft Excel by pressing “Download CSV”. You can also view your data as an HTML web file, detailing information from your simulation. You can view this by pressing “Reporting: HTML”
Congratulations!
You now know the basics of gEnergy, why not add your own IDF and try it for yourself?
For more information visit www.greenspacelive.com or email info@greenspacelive.com
